Assignment
| Formal | Create a visually dynamic object using color, open forms, texture and rhythm. |
| Technical | Learn to use the pottery wheel. Create a functional object. Use mixed building methods to create a form. |
| Conceptual | Learn to use bowls/open form to create a closed form. |
This is a multiple part project that should have results on specific dates. Wheel thrown elements you make will act as components for a pair of larger objects and functional objects in themselves. You should incorporate mixed methods of building objects in Part C and try not to think of the forms as bowls but elements for Part C of the project.
Part A:
Throw 10 high walled open form bowls. Guidelines:
- use 1.5 to 2lbs of clay
- have an opening diameter of 5-7 inches.
- Be wheel trimmed before removal from the wheel head
Part B: Four of these bowls need to:
- relate in surface design and volume.
- be wheel trimmed.
Part C: Using the remaining forms you are to create two closed vessel forms with handles. The final pieces should inform the viewer of your intent in defining “vessel”. You will be asked at the final critique to explain your intention.
Process
Of course I started off the project by throwing ten bowls. It was my second or third time using the wheel and I had noticed some pain in my right wrist. I had broken a part of my wrist when I was a kid and realized that may be the cause of my pain. I had to spend some time figuring out a way to cone and shape the clay in a way that didn’t strain my wrist which was definitely a challenge during the whole process.
I noticed some people’s approach to the project was to make six of the bowls with the intention of making the vessels out of them. I thought that may be helpful except I have never thrown bowls before and I had half expected a lot of fails during the process, so I decided to make all ten bowls first so I could use the worse ones as parts of my vessels.
To the right are the ten best bowls I
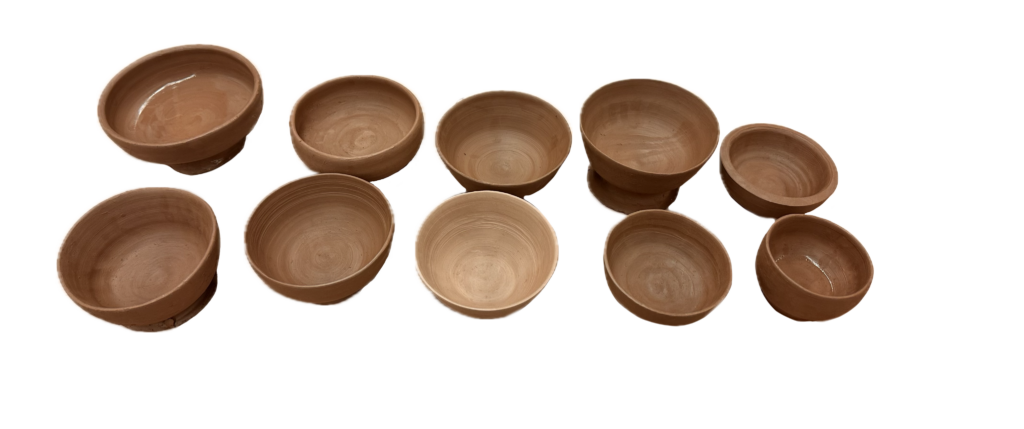
produced. In the picture only one of them is trimmed, but I made sure to trim all of them even if I was using them for the vessels as I thought that would help me align the centers better.
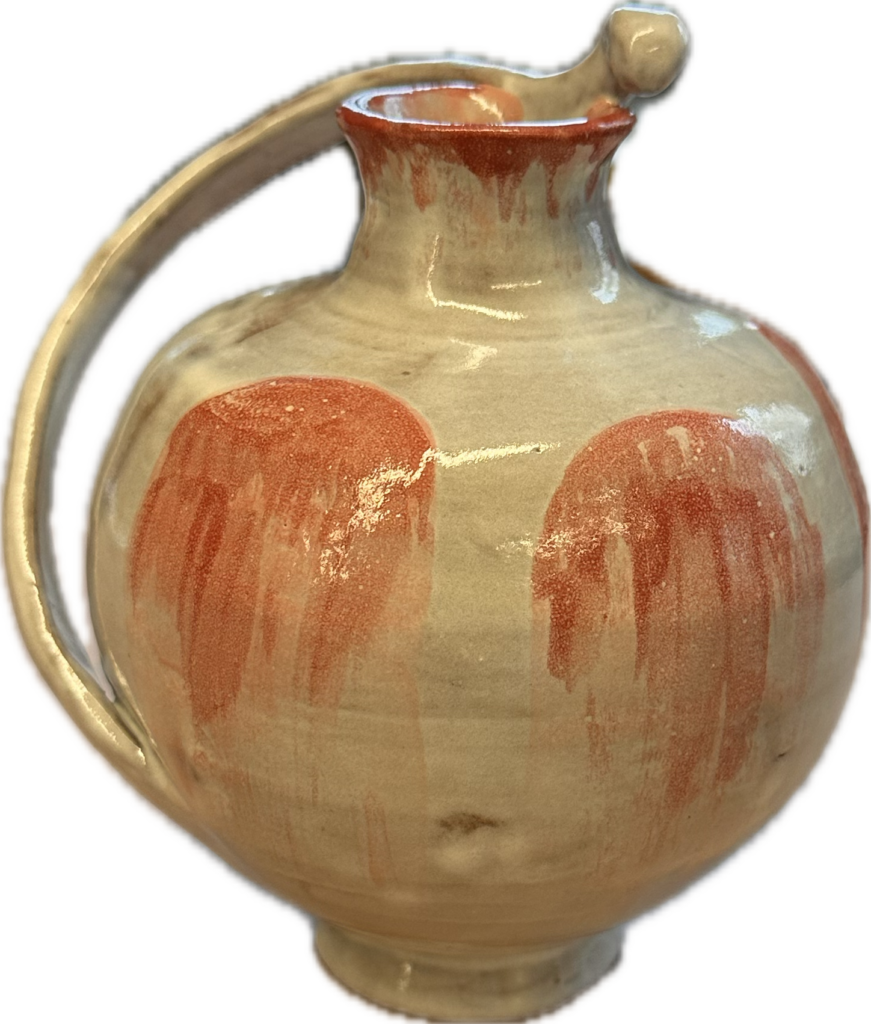
To get started on the next step, I picked four bowls that related most to each other in size and form to be my four final bowls. Once I had those picked out I used the rest to make the vessels. I took the three smallest bowls and decided to make a vessel with those first. Out of the three, I picked two bowls with about the same circumference and stuck them together by the rims to make a closed form. There was some wrestling I had to do with the clay to get the rims to stick together just right as they weren’t perfectly the same size as each other. They fit relatively well however, and I was able to polish it up well by trimming it again on the wheel.
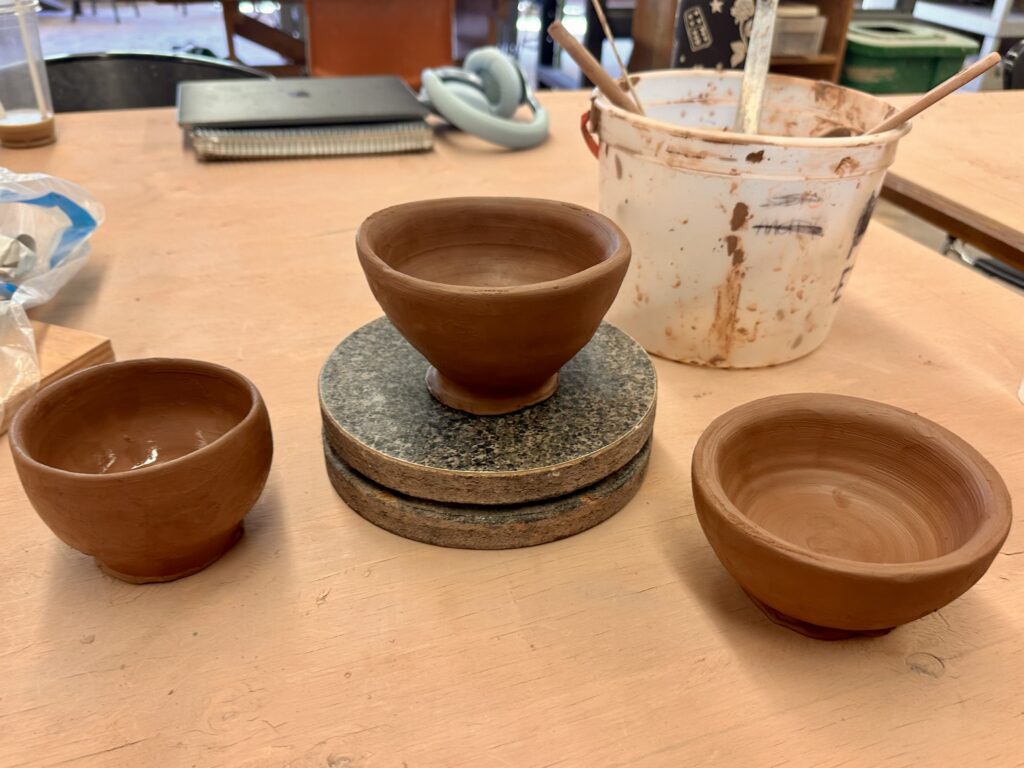
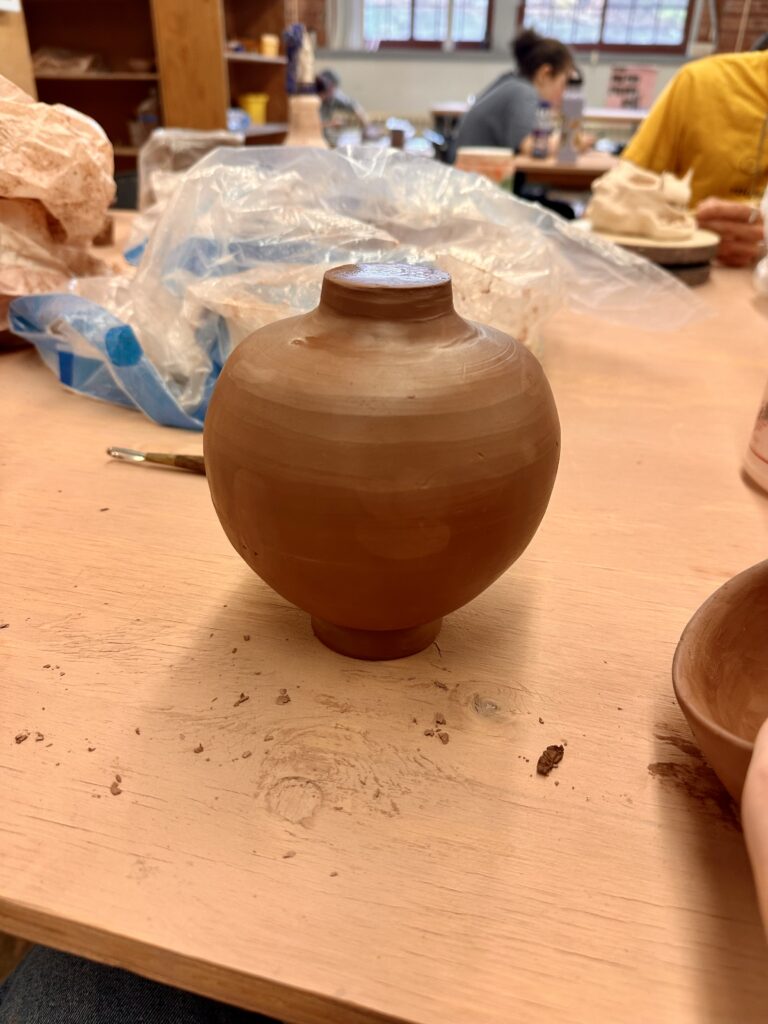
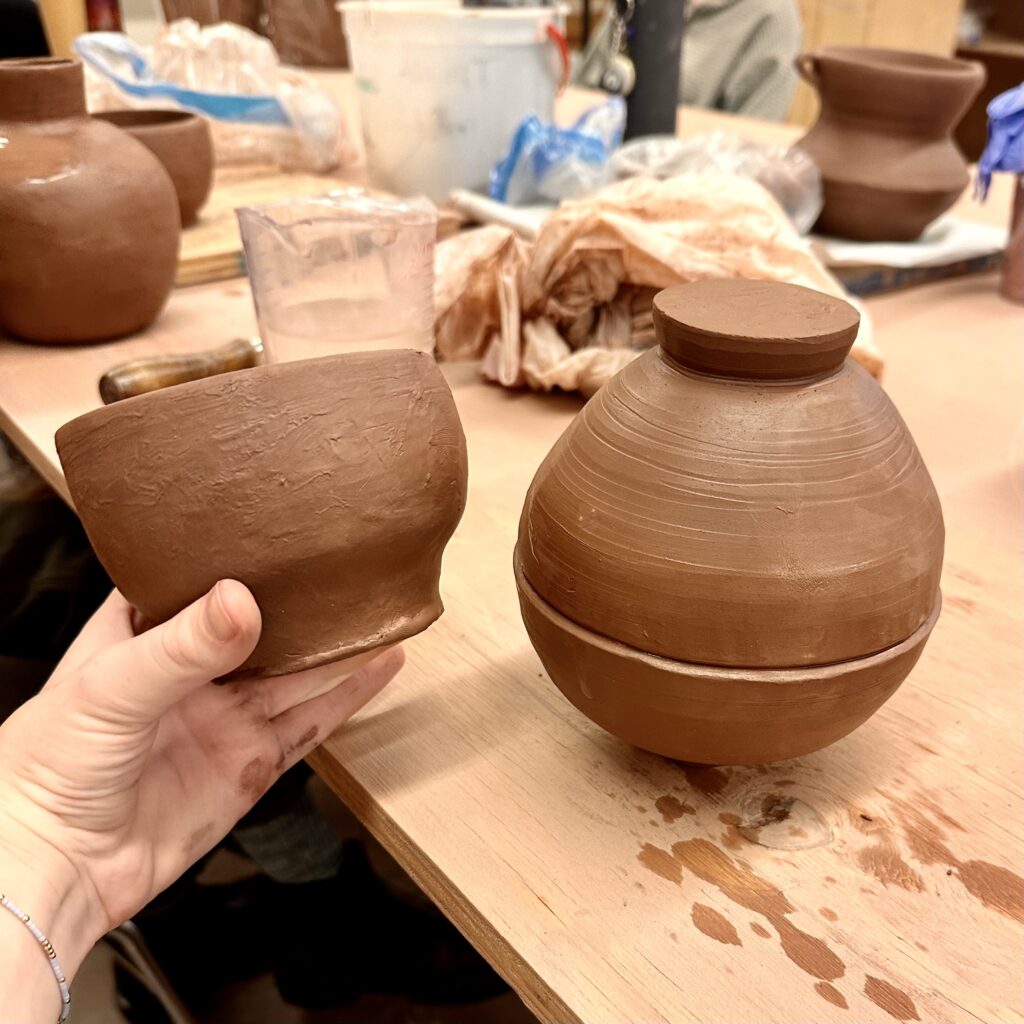
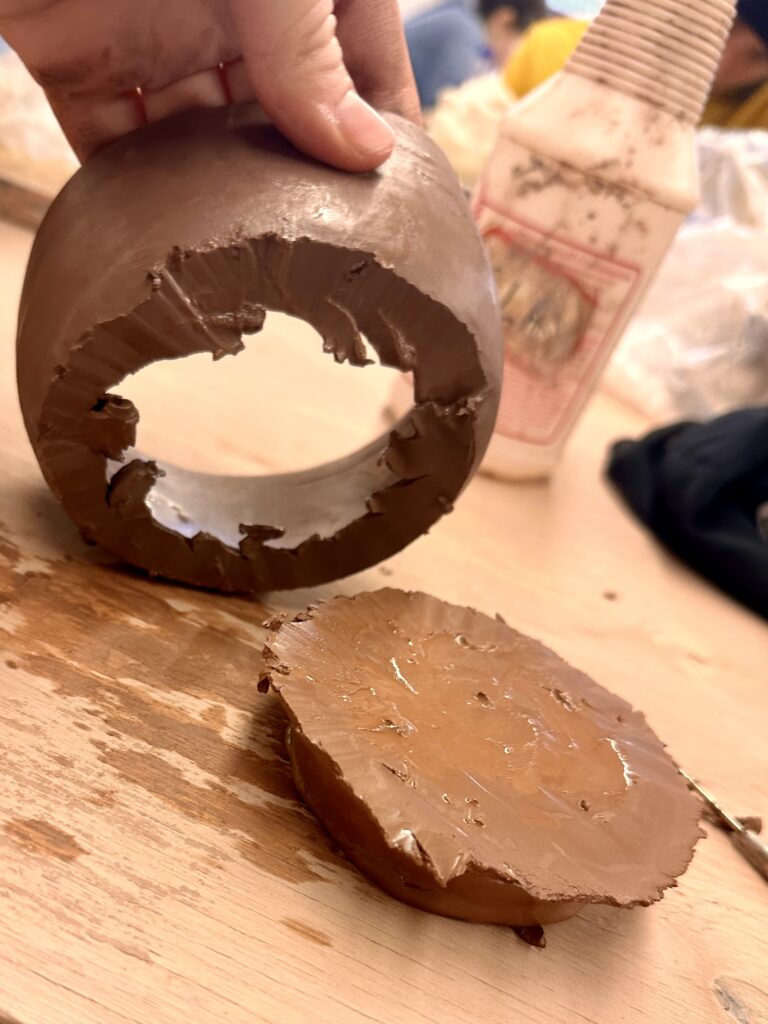
Then I got started on the handle of the vessel. I deconstructed the remaining bowl and was inspired by the wheel-like shape it created. I thought it would be a shame to not take advantage of the already circular slab I accidentally created. So, I trimmed this slab into a thin curved coil, then I diagonally wrapped it around the vessel. While I did this I used newspaper in between the handle and walls of the form to keep the handle suspended in the air while I shaved away and shaped it. Then I just added a flare on top to decorate it.
The last thing I did was create the whole into the neck of the vessel. I wanted to do this last so that the
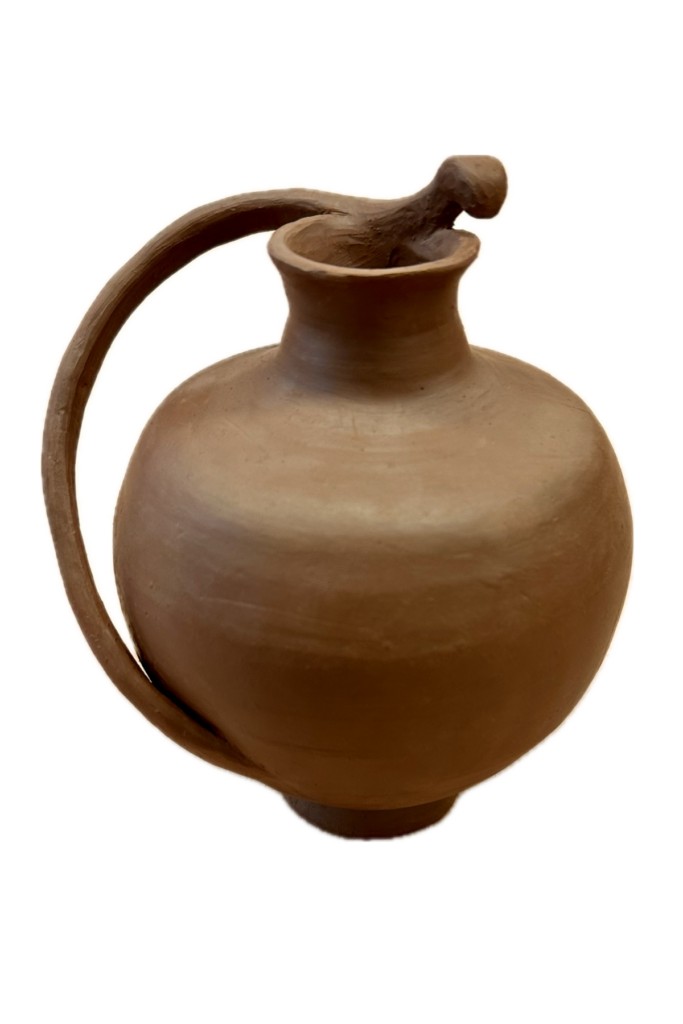
form wouldn’t dent or fold into itself while I worked on it. I basically was working with a balloon that allowed the air inside to keep equal pressure to the walls of the form. I learned this trick on my first ceramic piece and it’s definitely come in handy in handy since. I used the wheel again for subtractive methods to carve out the neck so that the rim was equal in volume all around.
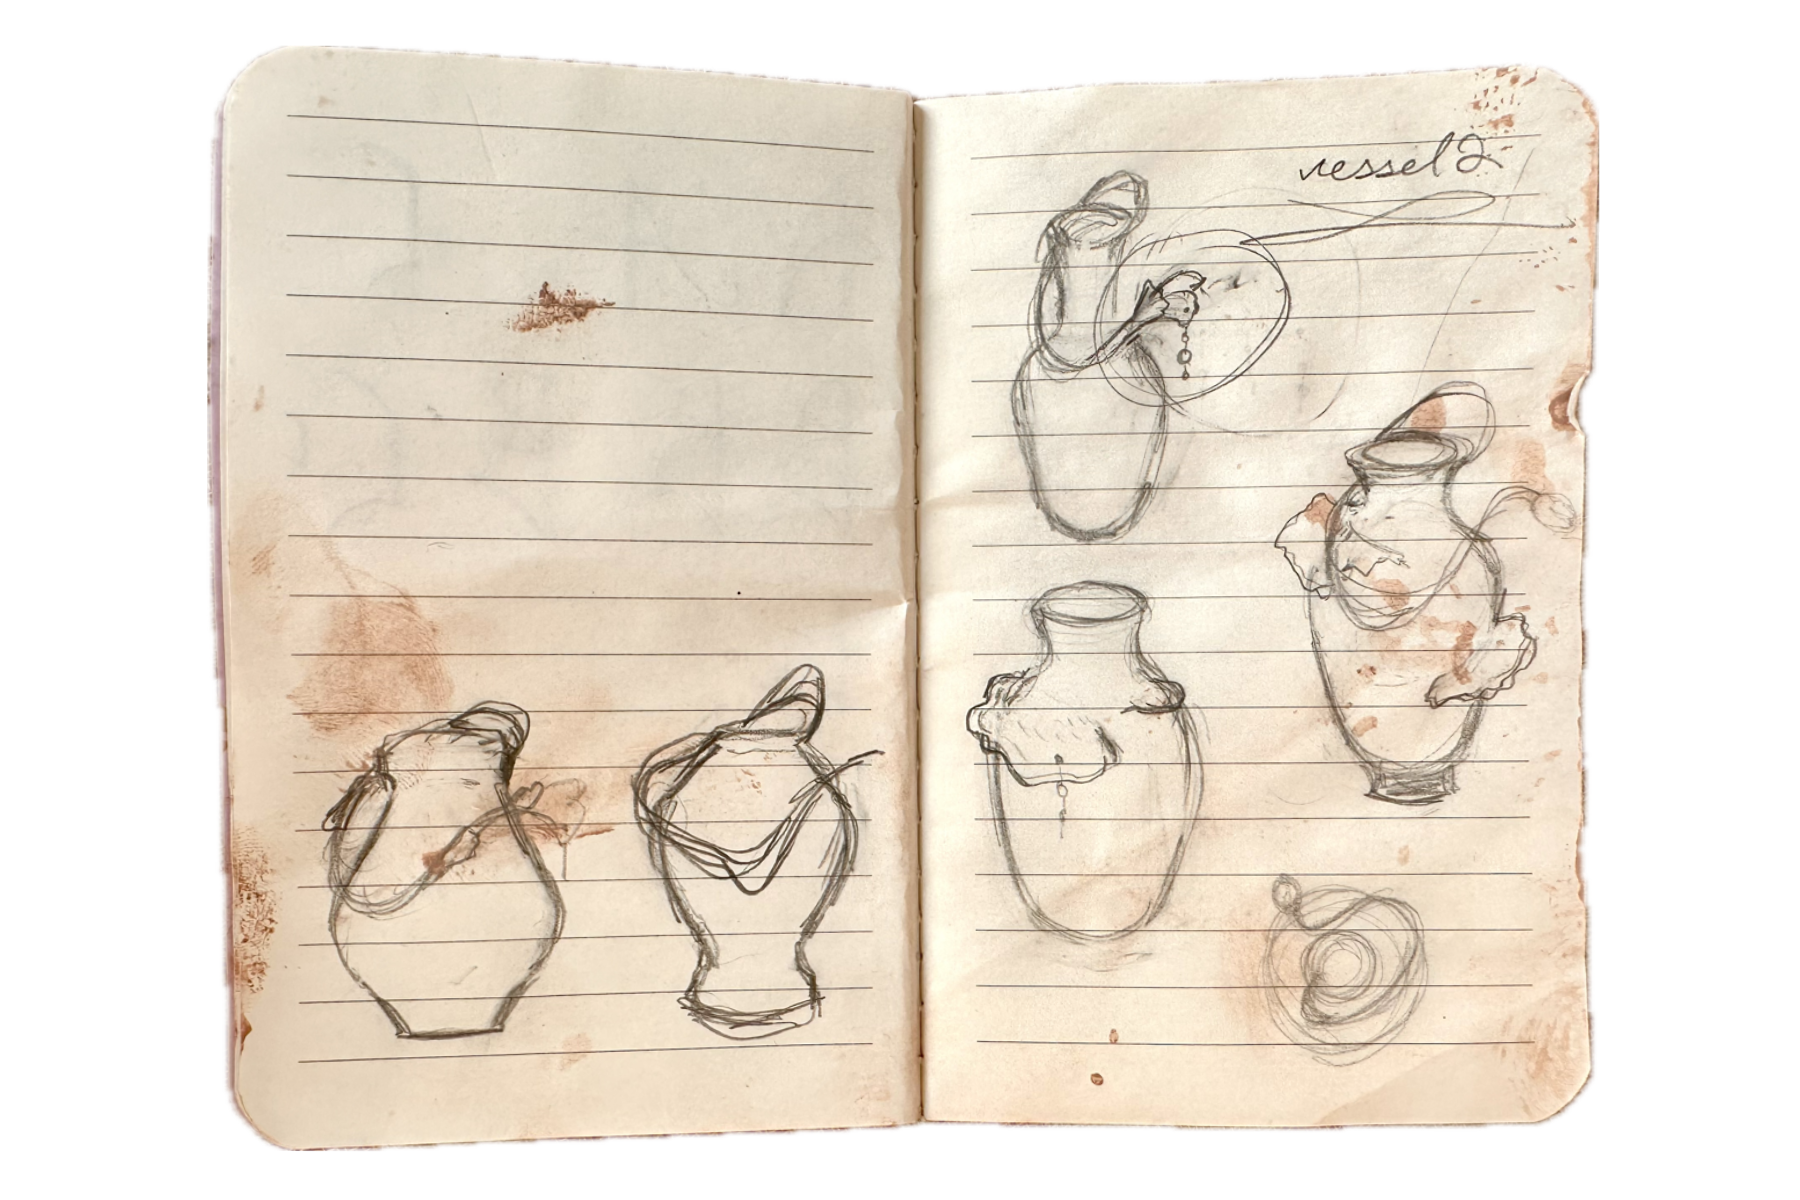
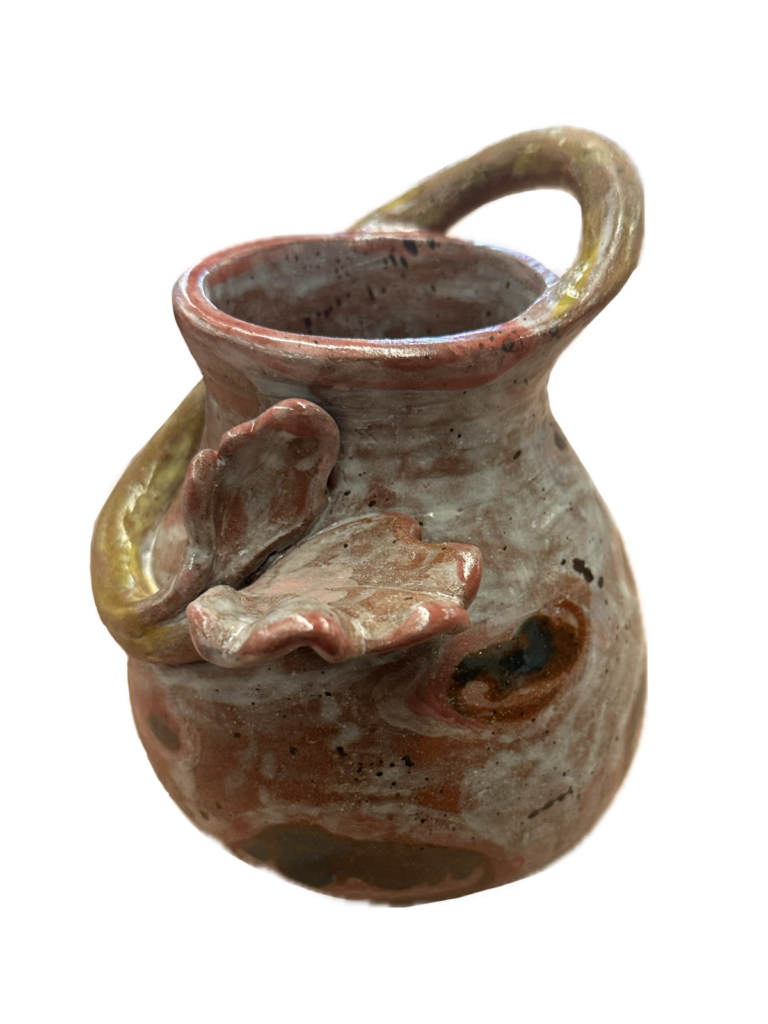
Once I finished sculpting the first vessel I started on the second. The remaining three bowls I had to work with didn’t cooperate well together, they were too different in size to make anything out of them. So I decided to scrap using those bowls and make new ones. Now that I was going to create bowls with the specific intention of making a vessel out of them, I put a lot more thought into the shapes of them. I create a few sketches of what type of vessel I wanted that guided my throwing process (see right page of notebook). I knew I wanted something botanical and have a place to attach string of non ceramics charms to it that mimicked water or dew dripping.
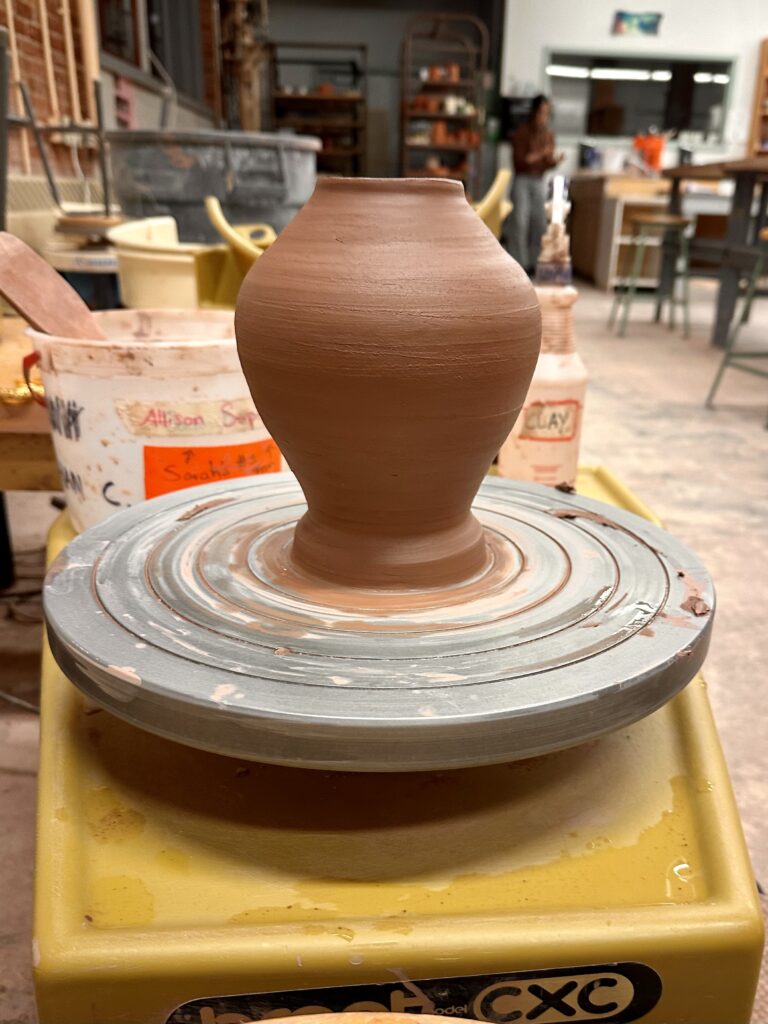
After I had made the two bowls I had to then conjoin them together. I was working on a time crunch and the air vent wasn’t working at this time, so the most I could do was wait for the clay to partly dry and work on the flower part of the handle in the meantime. However, I still had to add the bowls together while they were still very wet. Luckily, the form didn’t cave in on itself too much. I also decided to trim the closed form on the wheel while it was still wet. I think this expedited process worked well in this case but if the form was any bigger or thinner, there could have been backlash in my attempt to speed up the process.
Since the vessel wasn’t as tall as my sketches, I redrew it, this time accurate to width and height as the vessel I made (see left page of notebook). I made an option if I were to flip it either way to see which I liked better. Once I decided on which way I wanted it to go, I added a coil for the handle that wrapped all the way around the vessel. I used the newspaper technique once again to hold it in place. Adding in the floral decorative piece I worked on while the bowls were drying, was one of the more difficult parts of the process. The flower was crumbling and falling apart as I was trying to adhere it to the slip and scored area. I had to use a column
of wet clay to hold up the flower while it dried. Then once it was leather hard, I realized I forgot to add a hole in the flower for the string of beads to hang from, so in the process of adding that, it broke again. I must have reconstructed it about four times before it stayed. I was sure it was going to break in the kiln.
I think what contributes to what makes these pieces dynamic are the handles that can be seen from all angles of the piece. They both create interesting focal points at the end of the handles. The first vessel’s hovers
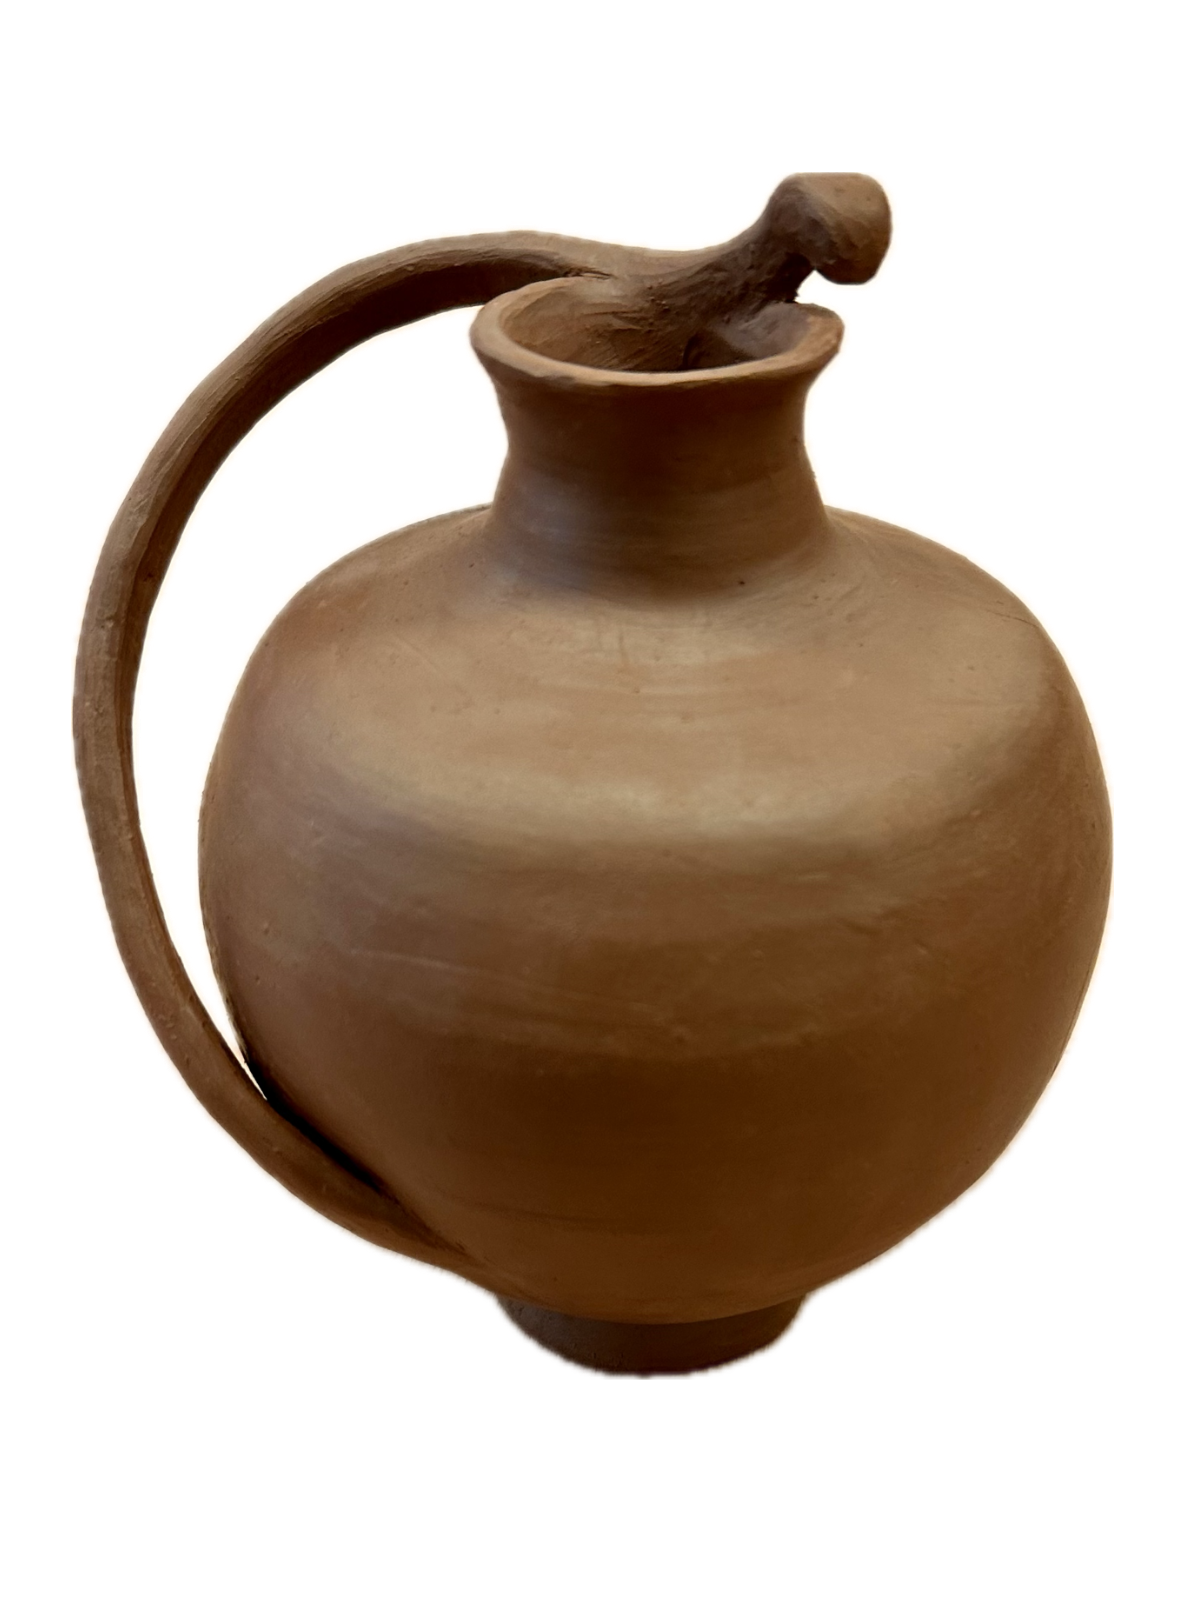
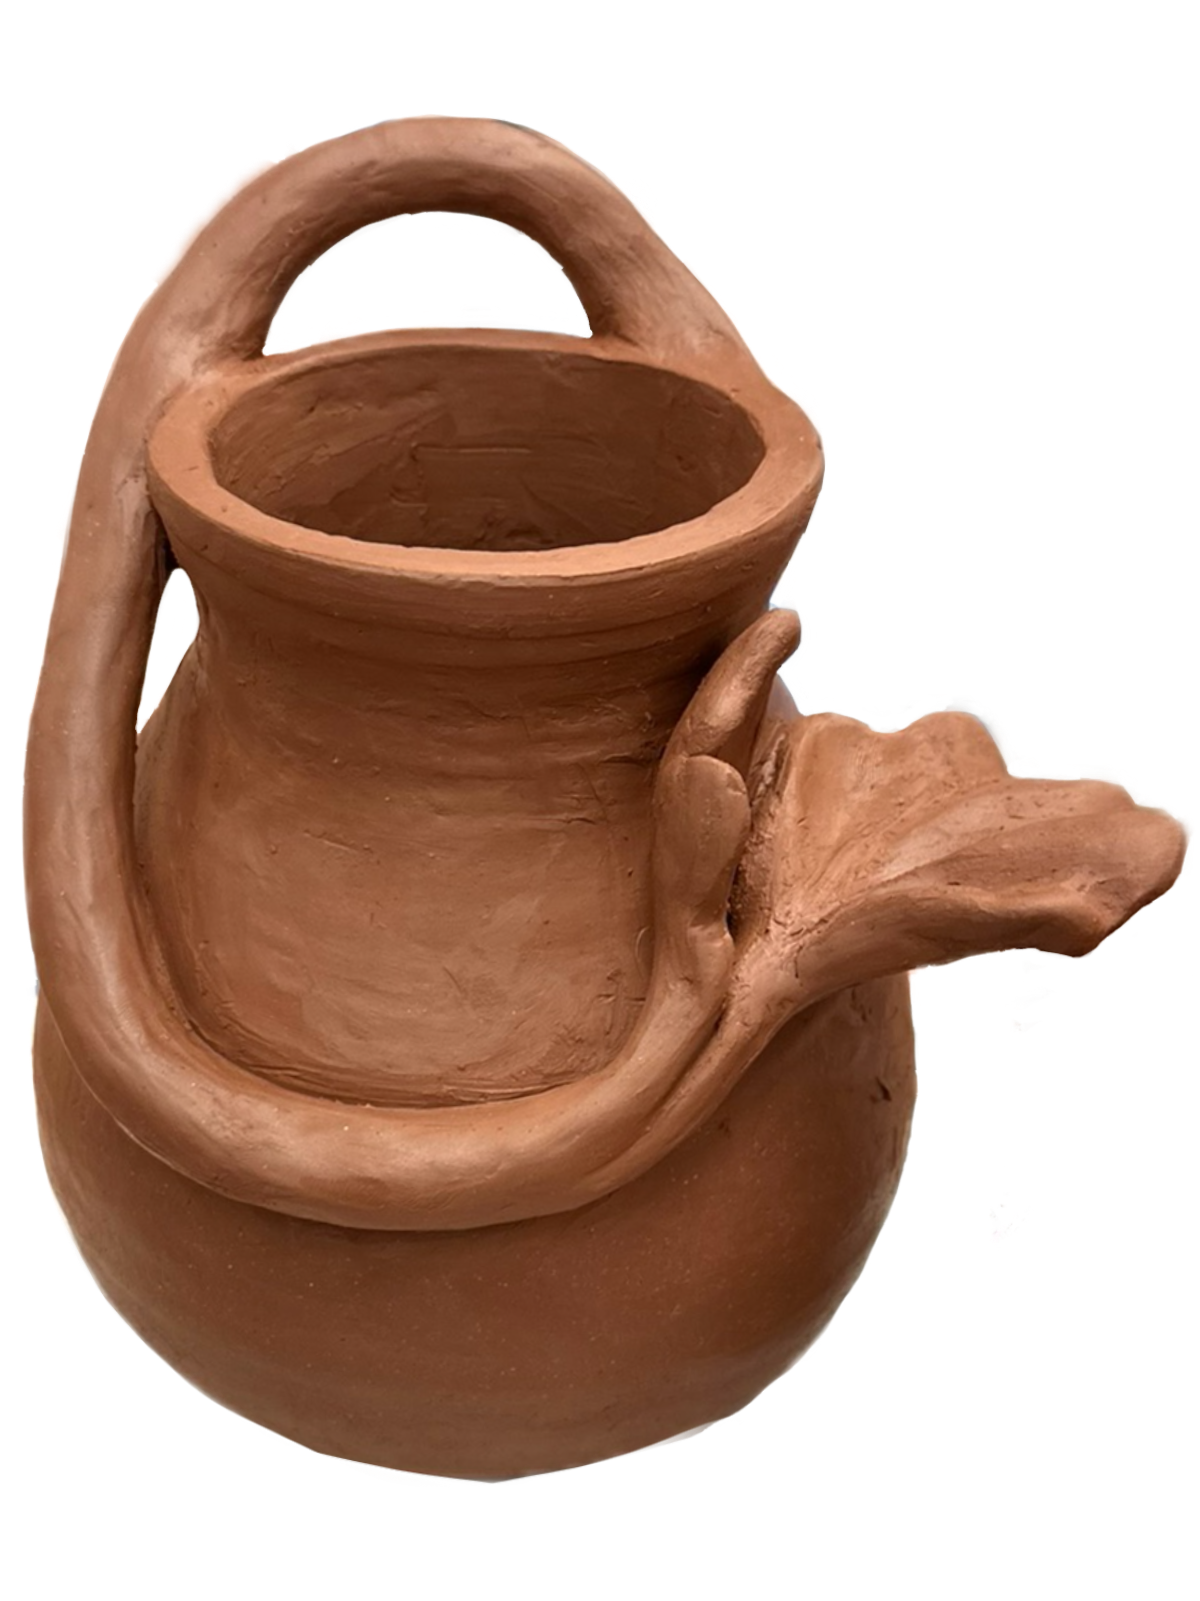
above the visually dominated element of the round bottom. This gives it great contrast since the focal point is much smaller in scale to the rest of it. However, the base of the vessel is also quite small, so it creates a high contested, yet balanced visual for the viewer. The second vessel, although the focal point is close to the visually dominated area of the piece, has gestural lines created by the handle that act as an arrow that lead your eye out from the rim of the vessel down and up away from the established element of dominance.
Overall, I think these pieces work really well as a series. They both are closed forms that have organic handles that wrap around the vessel. If I were to continue this series I would definitely keep trying to add height and more elaborate botanical handles.
Glazing them was what I was most nervous about. Not being able to exactly predict how glazes will turn out once they’re fired is intimidating. Honestly, I think I was intimidated for good reason because the second vessel turned out muddy. I realized I should have put more layers on the next day, but when I went back to glaze again, it had already gone in the kiln. A part of me wishes I dipped both pieces fully in white to save me from ruining the pieces but I’m glad I experimented. I’m happy with how the dark colors contrast against the light though. I think once I reglaze and fire it, that aspect will potentially be a strength.
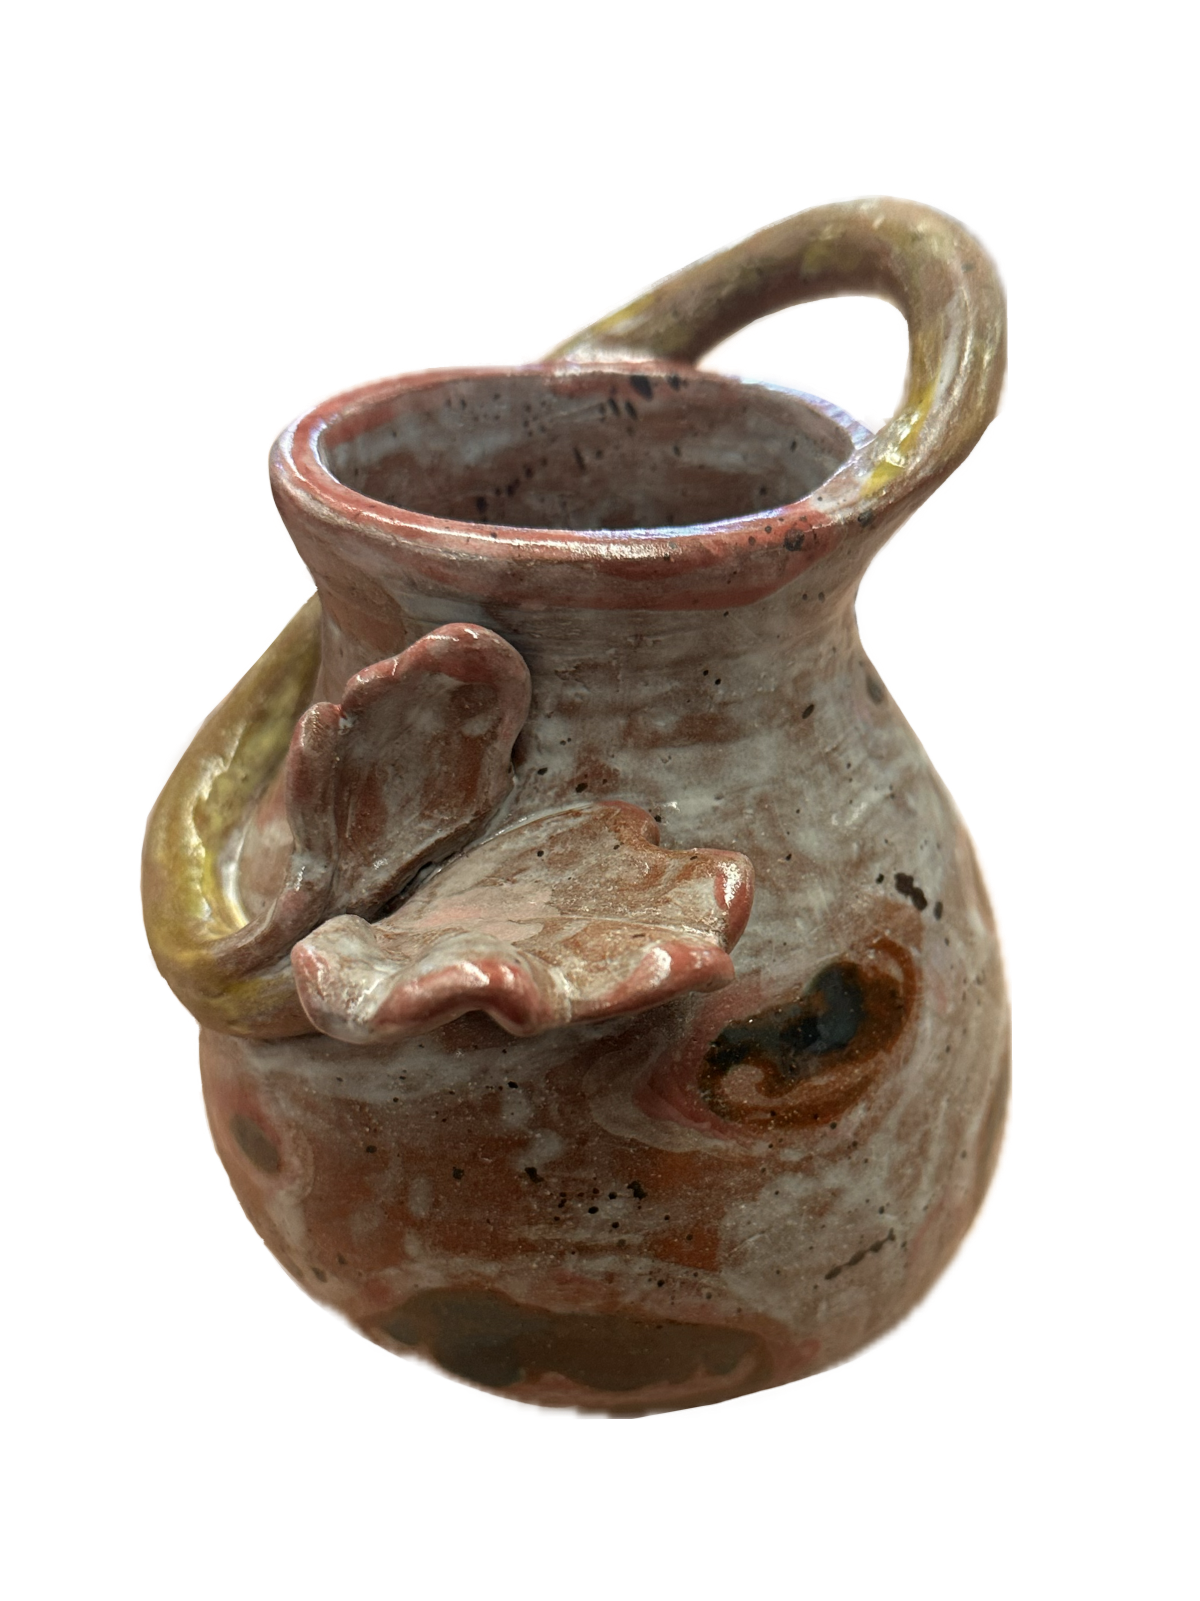
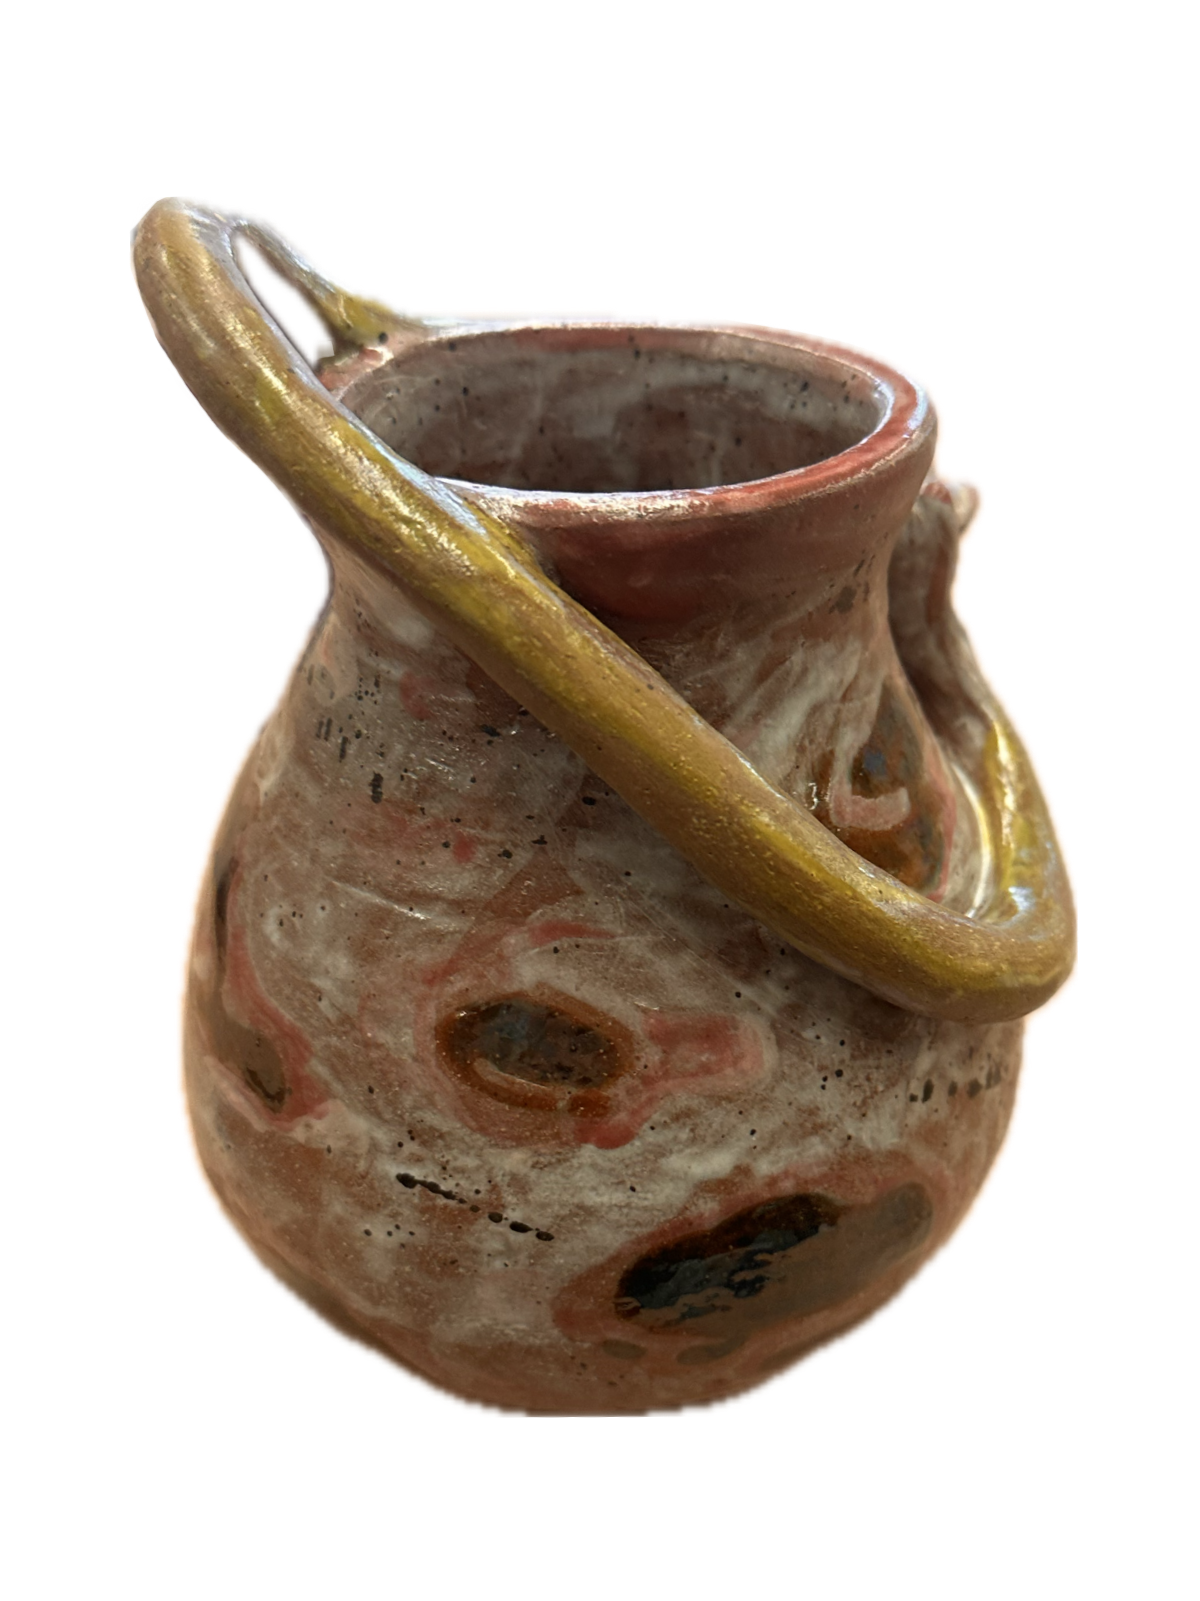
Final Glazed Products (pics coming soon)
Bowls
– 2 foliage green
– 2 bottle green
2 Vessels
– 1 final with glaze
– one pre second glaze
Leave a Reply