Assignment
Project #1: Expressive Hand
| Formal | Scale, proportion, size, gesture, color |
| Technical | · Maquette creation· Direct observational rendering using sighting tools· Balance a larger than life scale object· Subtractive method |
| Conceptual | Create a hand that gesturally conveys a message to the viewer |
Description:
After defining what expressive means you will construct:
- a 3-5” wire and plasticene hand using sighting tools
- this will be a type of quick maquette that should be flexible and bendable for practice
- due start of class Tuesday January 26
- a 12-16” clay hand to be fired and completed
- this hand will start out as a solid form and then need to be CAREFULLY hollowed out to avoid exploding in the kiln firing.
- There will be an option for using 2-3 colors of acrylic paint including the orange brick color of the fired clay surface.
- greenware hand due Thursday February 5
- final painted hand due TBA pending firing in kiln
This hand should be expressive in gesture instead of expressive in an object it is holding.
Process
To create my maquette, I bent wire in a shape of a skeleton hand using my actual hand as reference. The maquette would serve me as a tool later on, so getting the proportions of everything now would be helpful later. By layering the wire on top of my hand I was able to ensure that the proportions would be relatively close. When I added the modeling clay, I made sure to add the more clay in between my wire finger to have accurate line of where I would need to “start” and “end” the finger from the palm. The only big thing I noticed that I would have to change in my real sculpture was the thinness of the hand. Like scientists with dinosaurs, I shrink wrapped the clay to the wire more notably in the palm where I was less worried about messing up proportions.
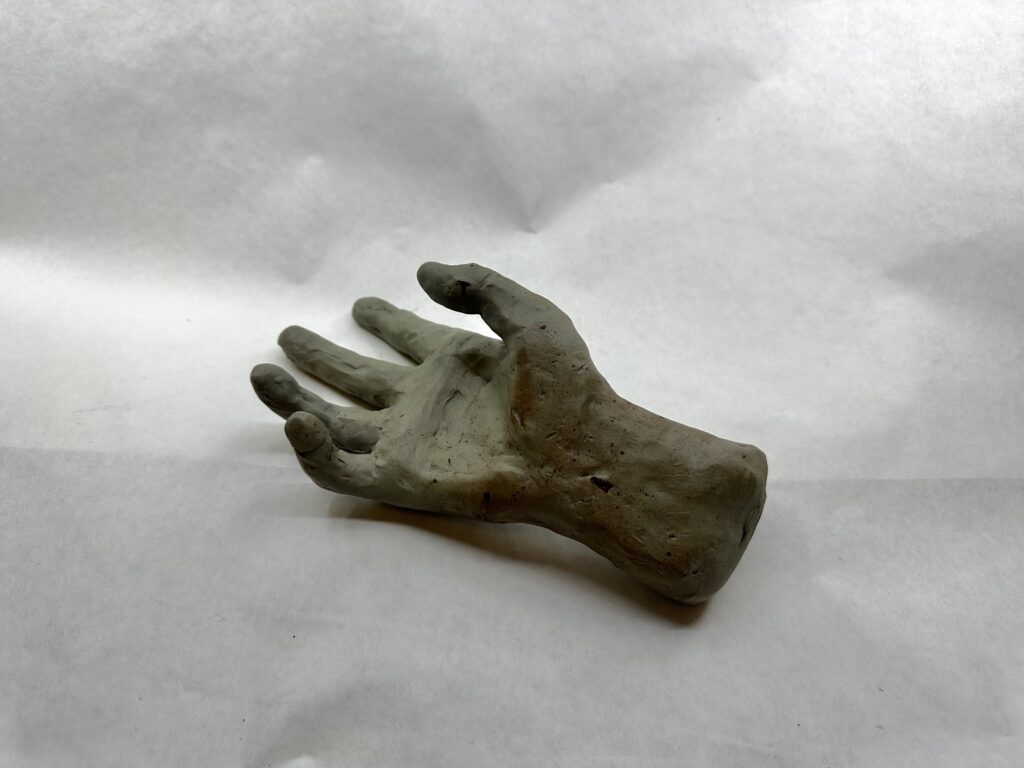
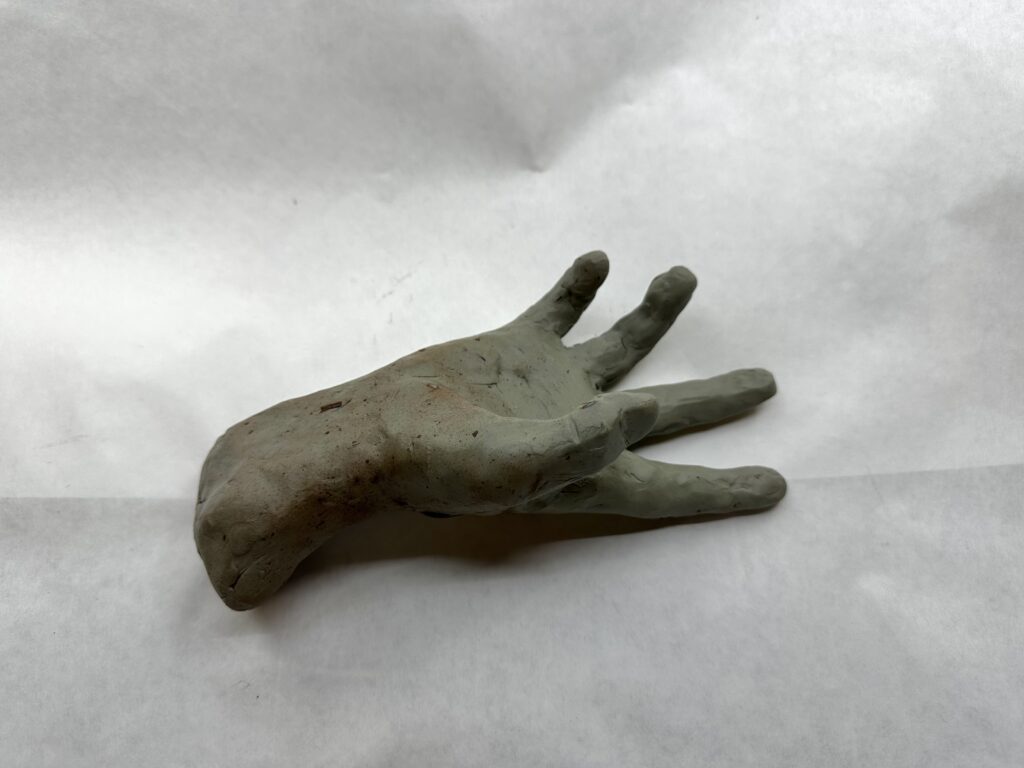
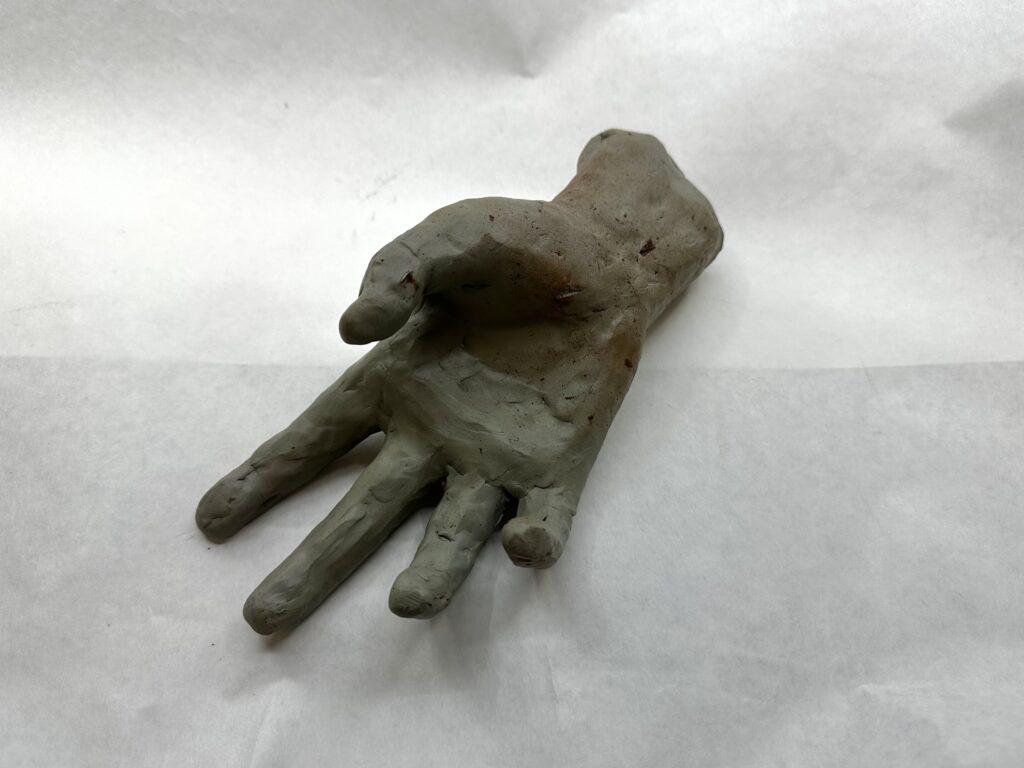
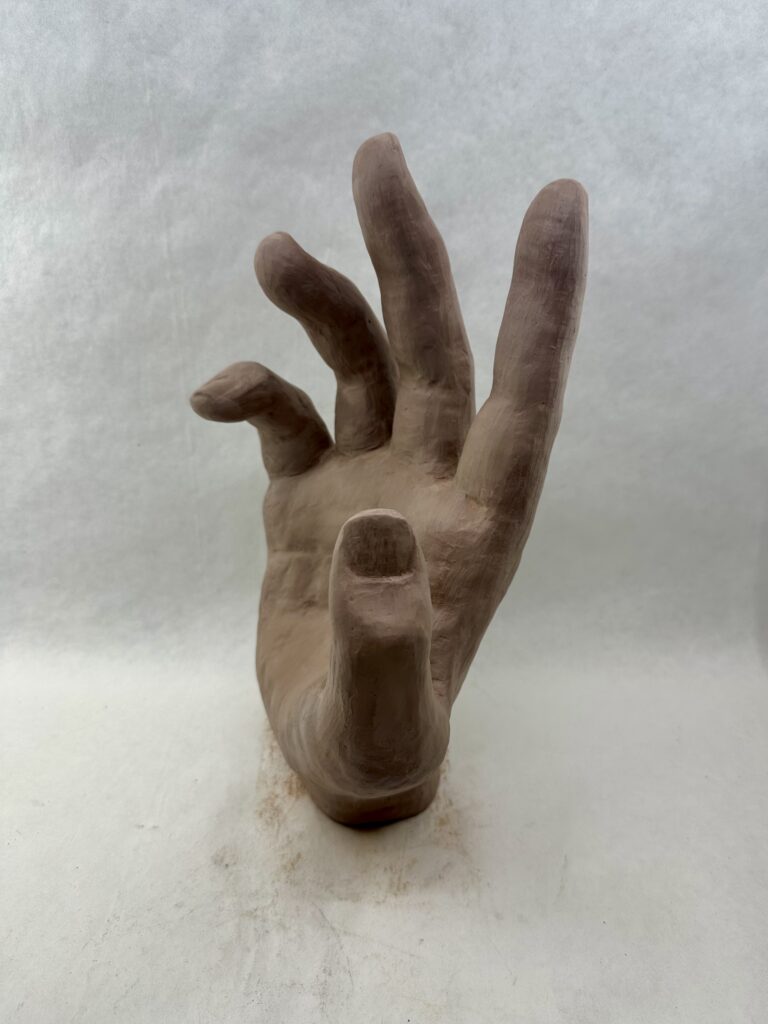
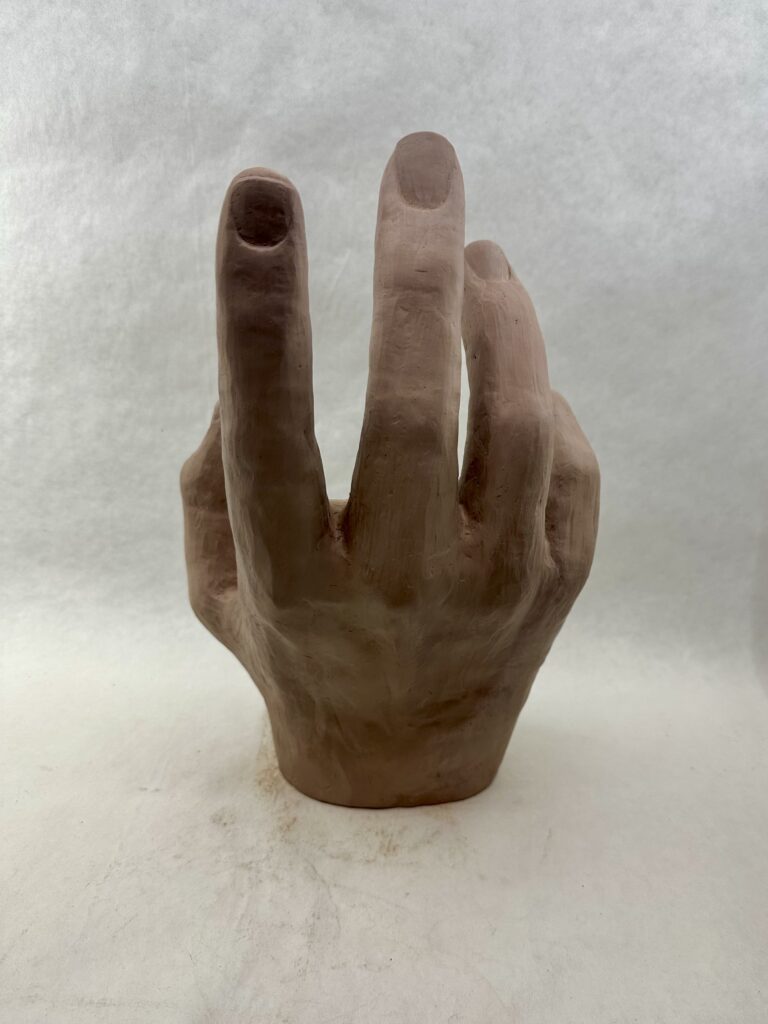
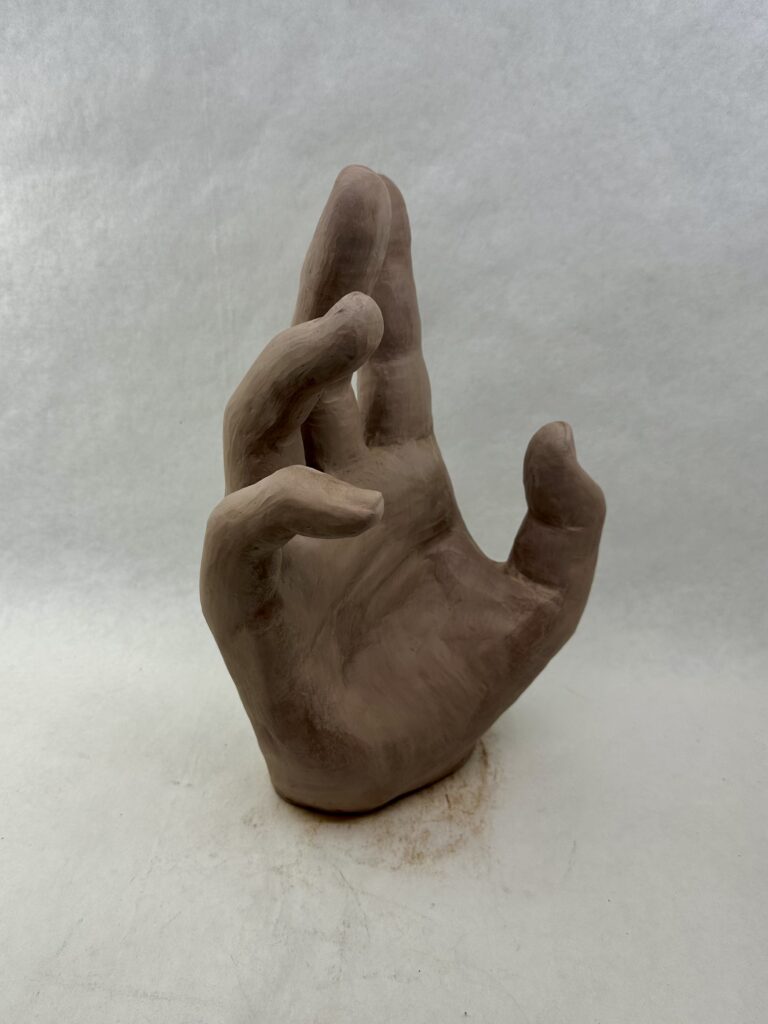
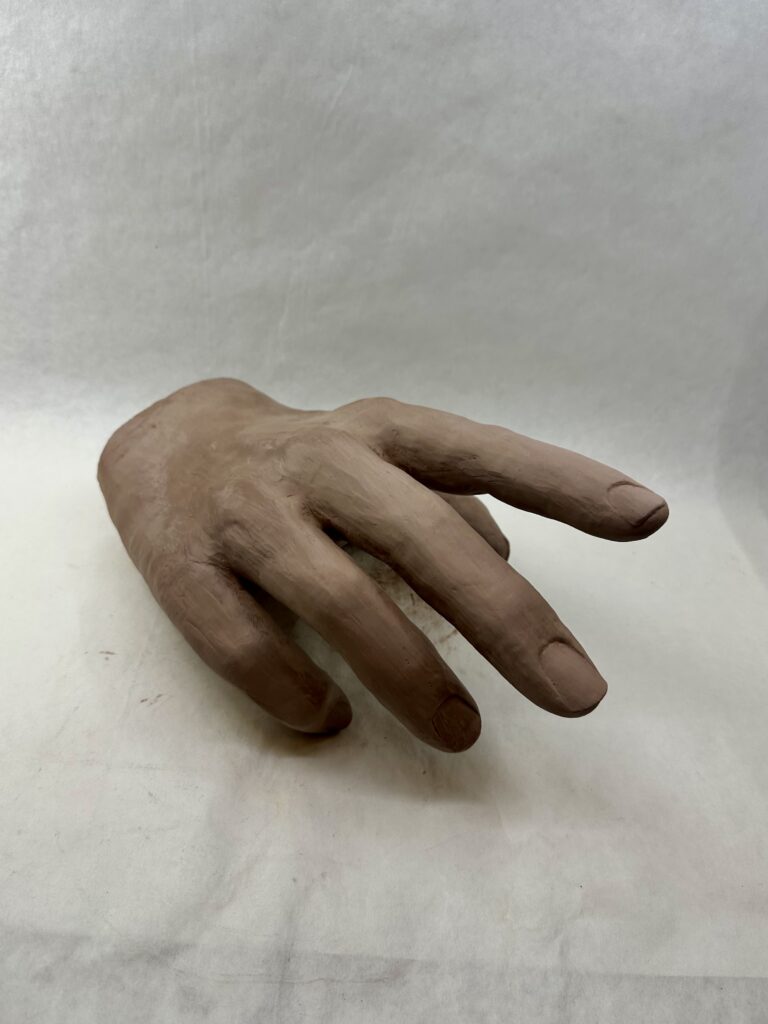
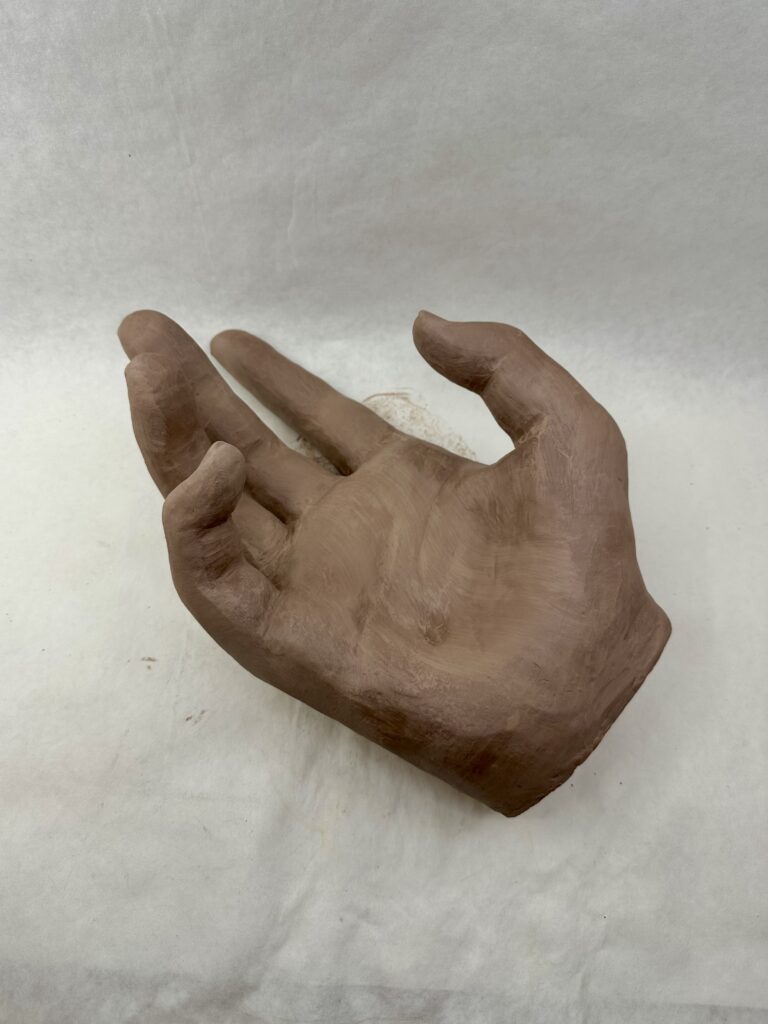
At first, when I started working on the larger hand, I couldn’t even allow myself to think of details like the nails or creases. I had to tackle trying to get the sausage like forms to bend in the same spots as my real fingers, cutting them into relatively equal thirds on the “front” side. I would have to constantly alternate using subtractive and additive methods as I realized things like that the middle of the palm has less padding than the bottom that has a lot more because the thumb sticking out, or that the skin between the fingers is raised much higher on the “front” side than where the knuckles start on the “back” side.
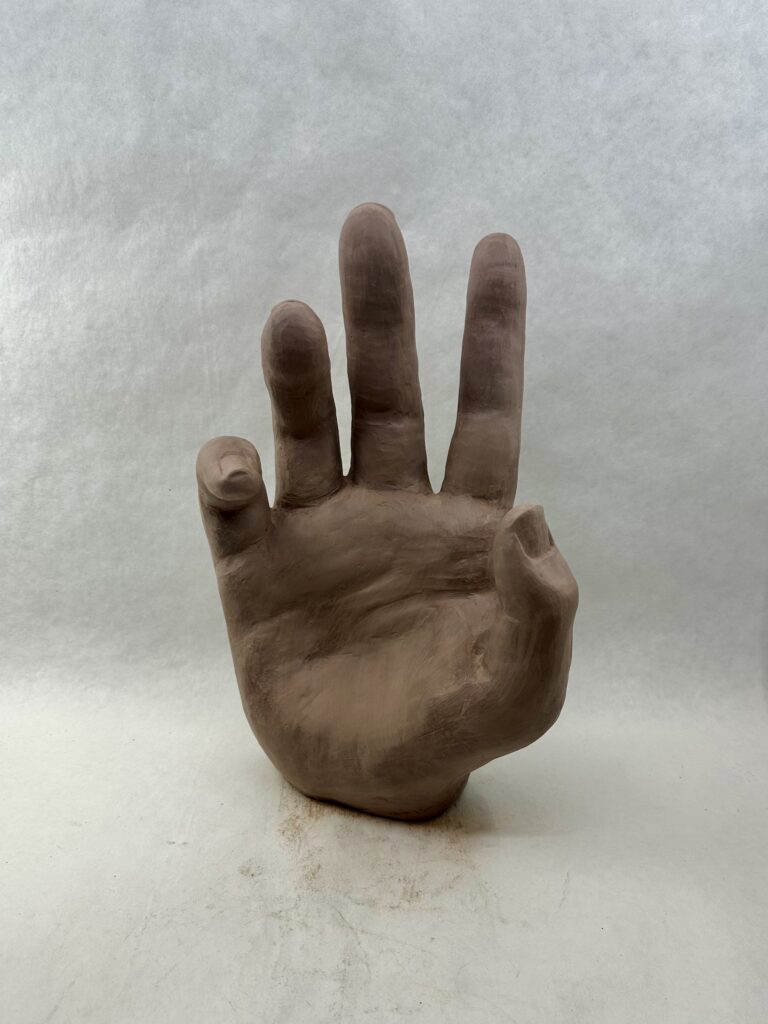
Once I finished getting basic proportions and shapes down, I was able to focus on the more detailed areas. The nails were especially difficult for me. I had to redo them because at first I made them flat but realized they bend around the finger giving them more surface area. On multiple occasions, I would have to rewet the ends of the fingers since they were the spots that dried quickest, to add the nails that would jut out past the finger tip. I only wished I filed my nails before using them as a reference.
Final Product
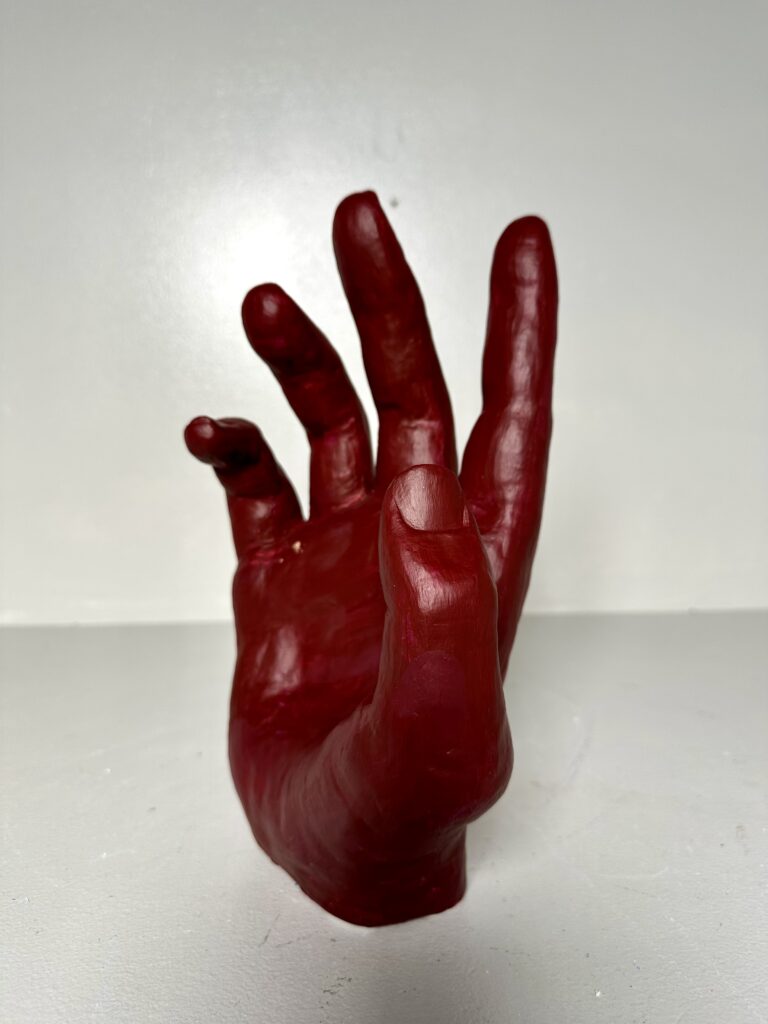
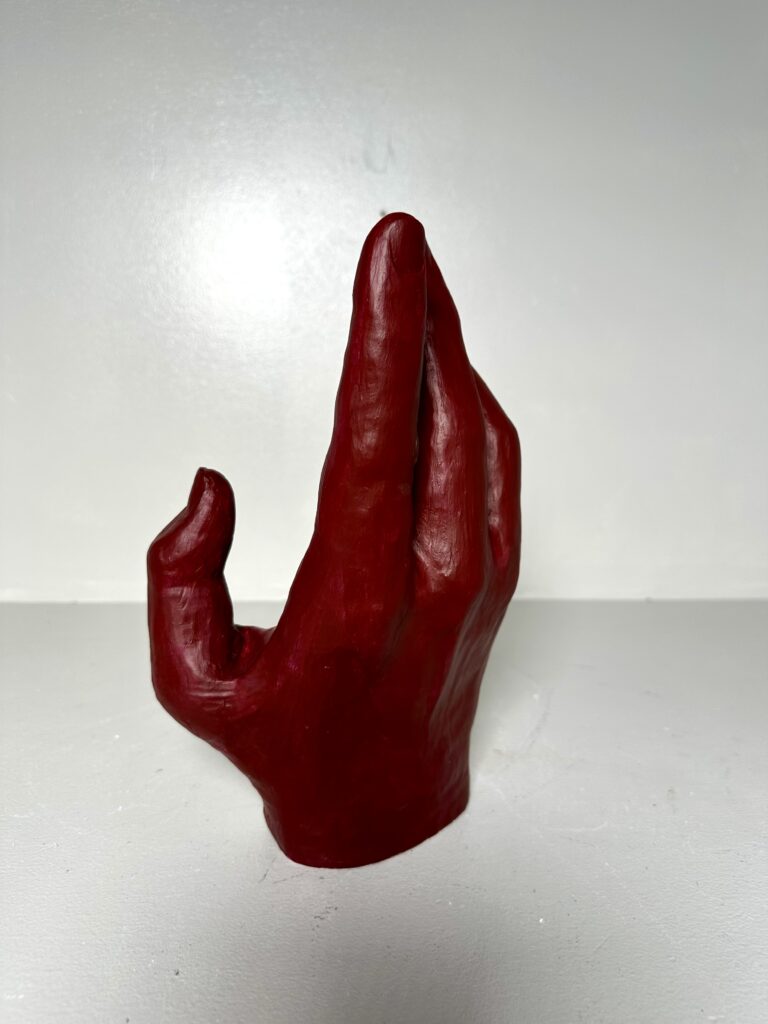
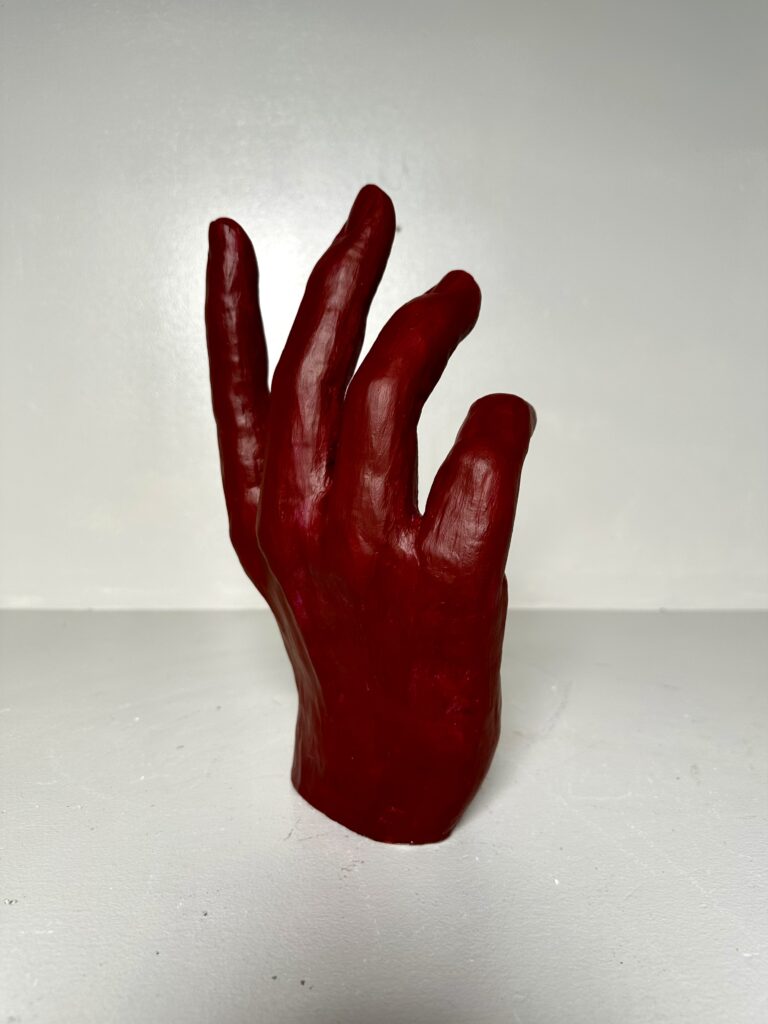
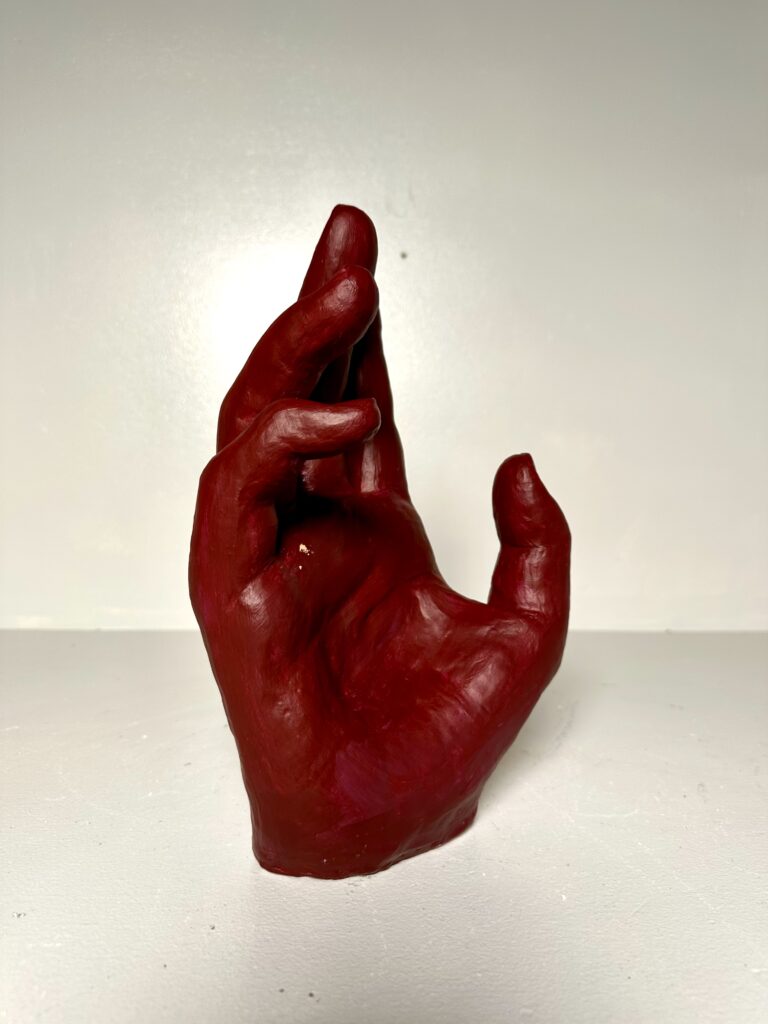
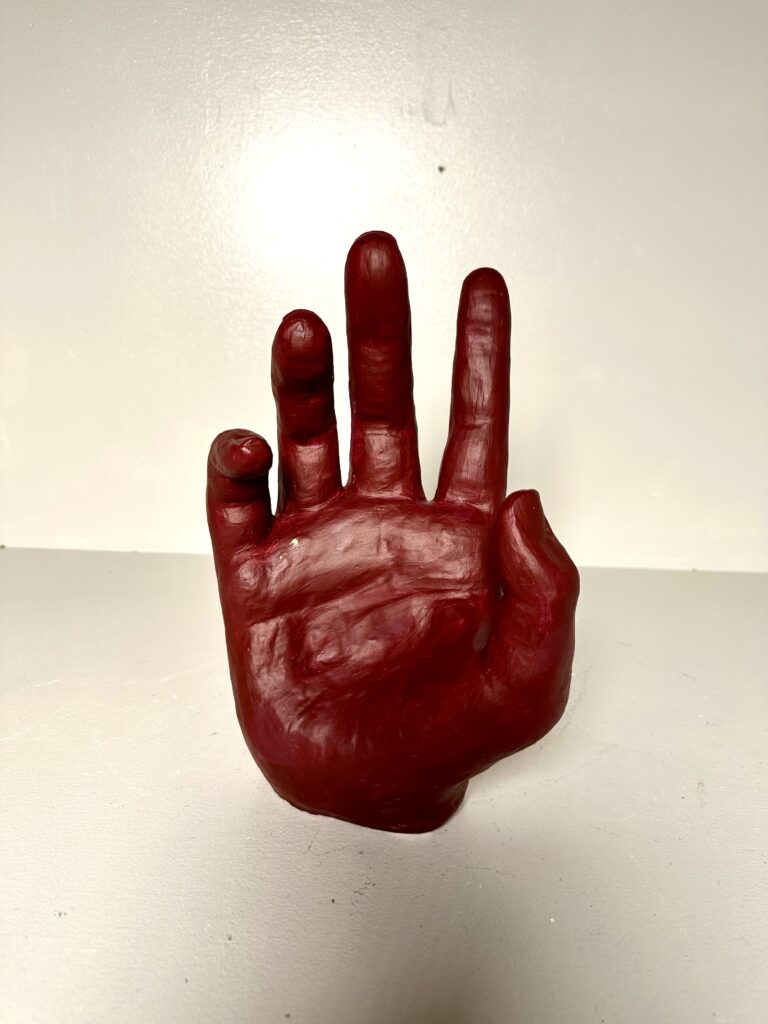
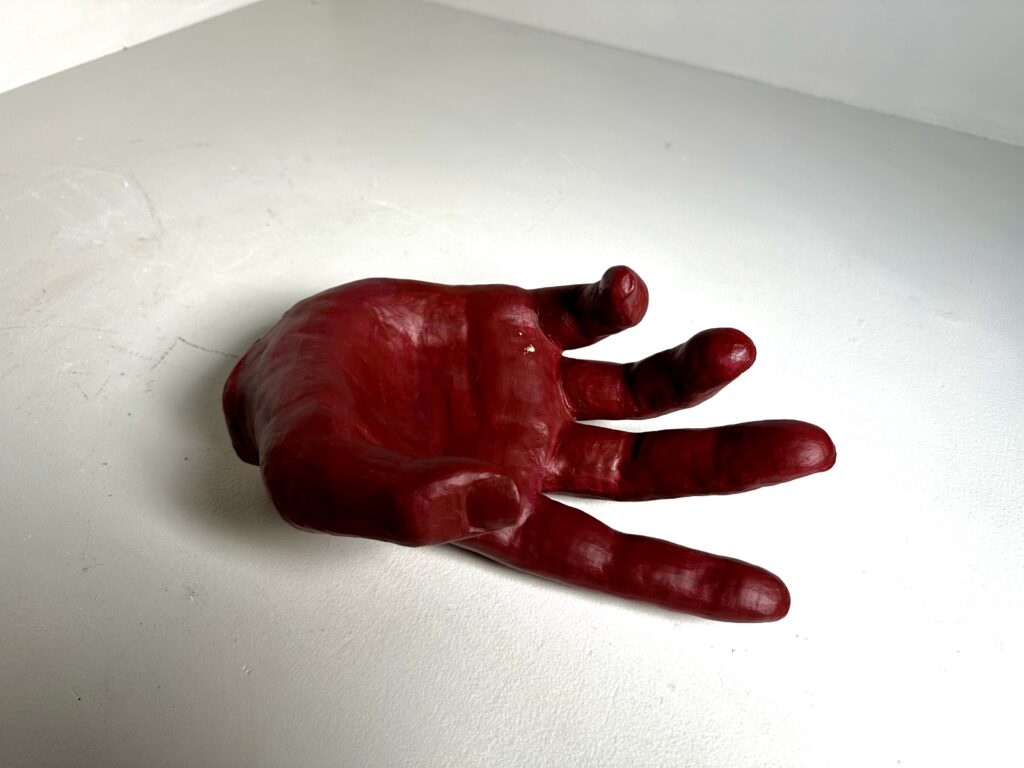
After carving out the center of the hand to make it dry faster and putting it in the kiln, I had to paint it. I painted this multiple times because the first time it was periwinkle which looked more like a doctor’s latex glove. I went into a different direction making it a deep red. The color contrasts to the gesture making the viewer think about the meaning more. While the color is an intense red that makes people think of anger and rage, the gesture is soft, hesitant, or desperate. This could represent someone presenting well-tempered but is really furious inside. Personally I think that gives the piece more meaning than the original periwinkle idea.
Overall, this piece is dynamic with not one side being the “front”. If it stands up, you can walk fully around the piece and see the fingers bending in interesting ways from every angle. Unlike the fingers that mimic each other’s positions, the thumb is pulling away from them creating a focal point that stick out from the visually dominant area.
Leave a Reply